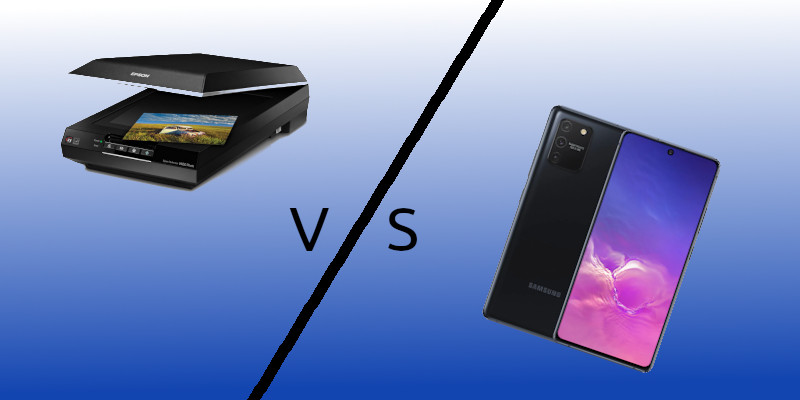
Someone asked at the Reel Magic Film Forum what would get a better result; a modern mobile phone or a scanner from a few years back. I found the question quite interesting, so I grabbed a cover and tried both, and here you can compare the results.
The hypothesis was that modern phone cameras have improved a lot. With their increased quality and resolution they might compete with an aged scanner. So let’s start with a look of each type of device.
Scanner
Scanners these days are most commonly made as part of a multi function printer, although some still have a independent scanner. If you have it turned on, it is pretty straight forward to put a cover on and align it properly along the edges. As the cover is placed on the glass surface, the angle and perspective will be perfect. The distance from the sensor along the bar to the part being scanned is constant, causing no distortion to the image. The resolution might vary, but even my oldest scanner from 1998 could handle 600 DPI (dots per inch). My new one has a max resolution of 4800 DPI.
Pros
- Will always scan in the perfect plane
- Easier to get correct rotation
- Perfect lighting conditions
- Better color calibration
- No lens distortion
Cons
- Slower to use
- You don’t carry it with you
- Some need an attached computer to work
Phone camera
The last decade we have seen an amazing progress of smart phones from having simple cameras to cameras that take very decent pictures. The quality of the camera’s lens and image sensor may vary a lot, though, from the cheaper phones to the high end versions.
When you use it for taking pictures of covers, you need to hold it very level and match the exact plane of the surface of the cover. It is also important to get the correct rotation. Although it is possible to correct many of these issues as shown in our previous article/video How to improve cover images, any correction like this may degrade the result compared to if the original would need no changes. The greater the correction is, the lesser the quality will be.
The distance from each part of the cover to the lens vary. The center of the cover will have a shorter distance to the lens than the edges. A good lens will try to compensate for that to make all parts in focus. Good optical lenses will also reduce the amount lines will be bent at the edges. SLR camera lenses have in fact multiple lenses inside to compensate for all this. I am not sure how mobile phone lenses are built up. The center of a picture has always a better quality, and photographers refer to this part of the lens/picture as the sweet spot. Using only the sweet spot will reduce the distortion, but also the resolution of the end result.
Pros
- You always have your mobile phone with you
- You can take a shot of the cover very quickly
- The repeat cycle is very quick
Cons
- You need to carefully align it properly to the plane of the cover, in addition to the correct rotation in the plane.
- Wrong alignment can cause blurry parts as the distance to the subject (cover) may wary along the surface.
- You need decent lighting condition
- The lens can cause distortion.
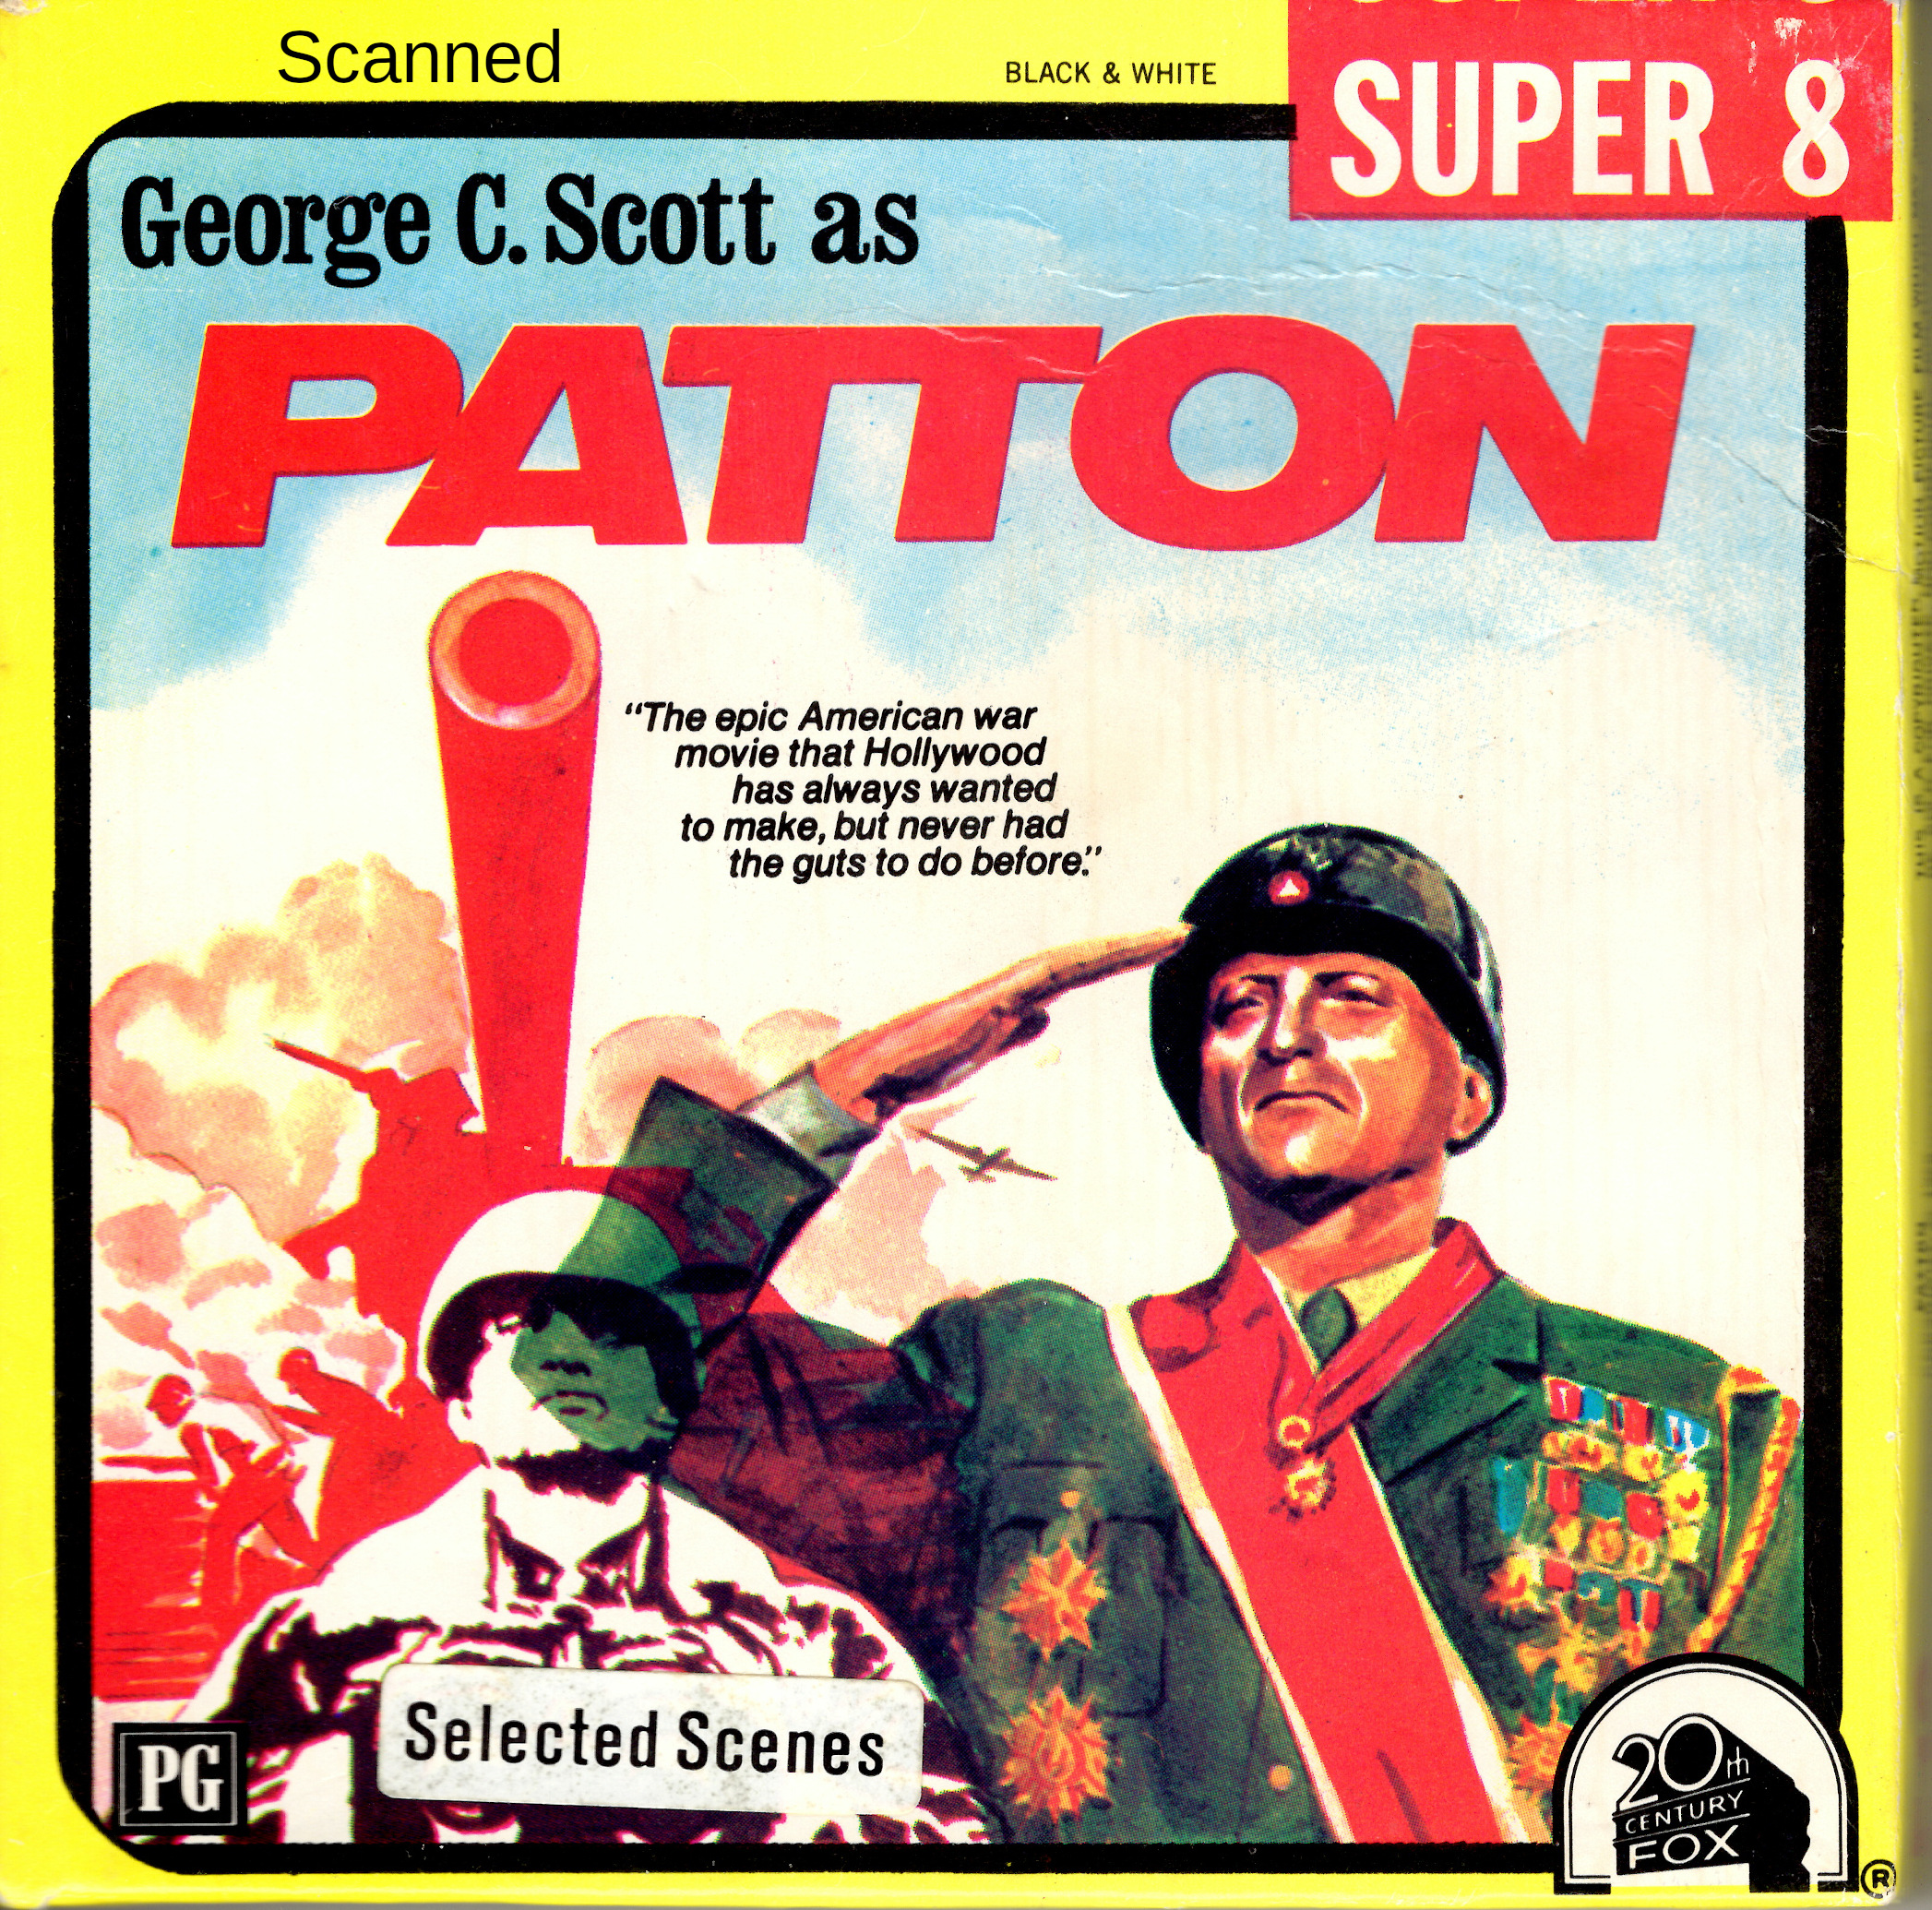
My test
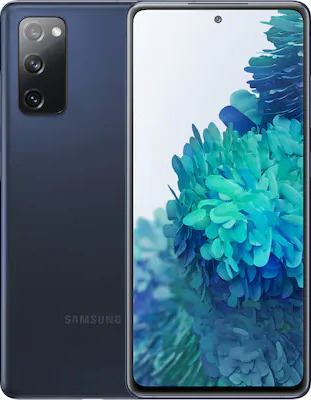
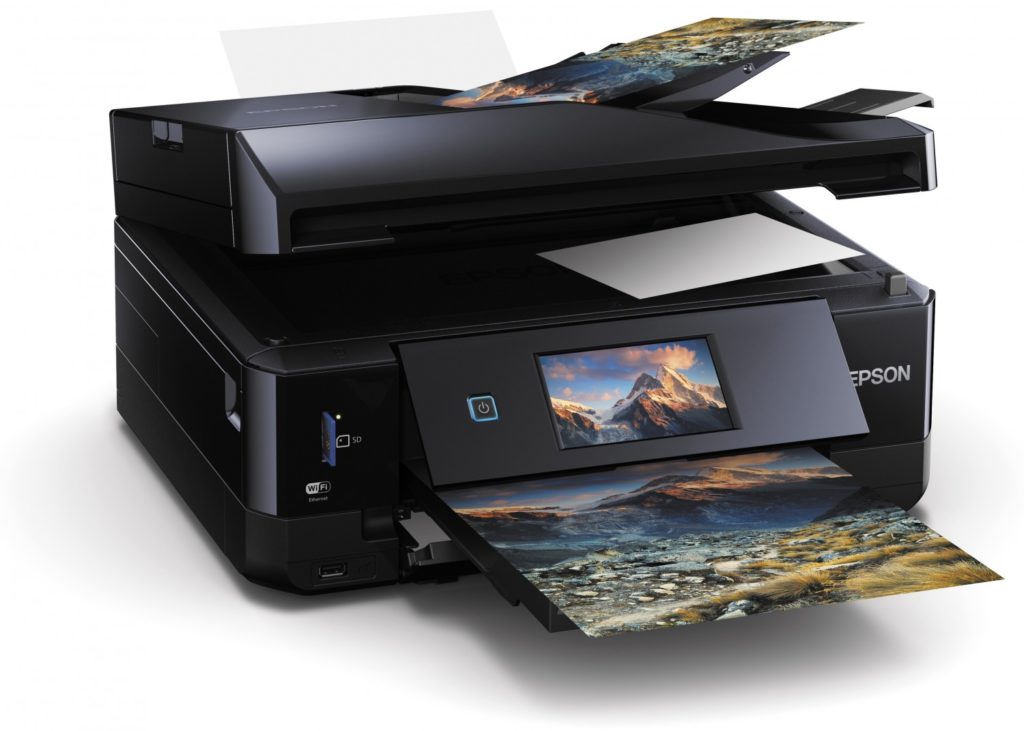
My phone is a Samsung Galaxy S20 from 2020. It is a high end model with a very good camera. For scanning I have an Epson XP-830 multi function printer/scanner from 2015.
As for comparing the resolution: My scanner can handle up to 4800 DPI. The camera has three backside lenses and sensors, and I was using the main sensor as it it most suitable for this. These pictures have a resolution of 4032 x 3024 pixels. As the cover is square, I can therefore get a maximum resolution of 3024 x 3024. The DPI will depend on the cover size, but for a 200′ that has a 5 inch width, we will get a maximum DPI of 604. Many cheaper phones have a much lower resolution than this. 300 and 600 DPI are common resolutions when scanning A4 or Letter papers, but for photos it could be much higher.
I tried to take the photo with the phone at a straight angle to improve the result, but without using a tripod or any other help to stabilize the phone since this is the way most people take the pictures of covers. I then improved the picture using the techniques explained in our previous post: How to improve cover images. And here is the result compared to a scanned version. Use the slider and drag back and forth to compare the two images.
There are two very noticeable differences:
- The image from the camera is slightly out of focus on the top left. This happens because I was not holding it at a straight enough angle to the cover.
- The image from the camera has a lot of noise, small hair thin stripes. This happens as the lighting was from one side, and it reveals that the card board is not totally plane but having small cracks/bumps in it. You won’t normally notice this, but with a light from the side, and the camera auto adjusting things like contrast etc, you suddenly see it very well. Moving the light source towards the front can cause glare, so placing the light source can be difficult for some covers. The scanner on the other hand has the lighting almost straight from above and avoids this effect.
Conclusion
The scanner makes a noticeable better result. There is no question about it. But it also takes more time to make. A camera can make a lot more pictures in a shorter time.
When people contribute a lot of covers for the Super8database project, I very much appreciate them using their personal time on this, and it is very understandable that images from a mobile phone is the only option. The result is good enough to be used on Super8database. With only scanned images, we would have less than a third of what we have now. So do not get discouraged to send covers if you do not have a scanner or do not have the time to use it for many covers. We appreciate any contributions we get!